


Most people are naturally fascinated by the night sky, especially the stars. In fact, anyone who had the time to look at these bright and distant objects knows that somehow, they seem so connected to us. That’s why it is not surprising that many photographers find star photography or even star trails photography mesmerizing.
In definition, Star Trails Photography is a technique that lets your camera capture the slow but intricate dance of the stars across the night sky. Depending on the length of exposure and the amount of light present, the trails can be uniquely beautiful.
If you want to try this photography method but are afraid that you might fail, this article will help you out. Here, you’ll learn more about the camera equipment, settings, and exposure that are perfect for star trails photography.
Here are the steps and details that you need to know.

1. Research and do your homework.
This is the most important part of your journey to perfecting start trails photography. Researching can help you make the right decisions and avoid the most common mistakes early on. So what should you look at?
A. Finding the darkest places on the map – literally.
Star Trails Photography should be done under a dark night sky so as not to corrupt your star trails. It means that you should be on, literally, the darkest places on the map. Stay away from well-lit cities and camp out on the least polluted (from light pollution) areas you can find. There are helpful websites where you can see these spots near your location.
B. Checking and shooting under the right Moon phase.
The moon is a natural source of light – so just like how you need to get away from light pollution from vibrant cities, you also have to choose the right Moon Phase. In this case, do the shoot during a New Moon when there is basically no moon to be seen by your camera’s lens.
C. Shoot under clear skies and friendly weather.
Obviously, you’ll need a clear sky during your photo shoot. There are websites and even mobile apps that will tell you when the skies will be clear from hovering clouds. If you don’t follow this advice, expect to capture cloud trails and not star trails.
Another obvious tip is to do your shoot during friendly weather. Remember, you’ll probably be shooting alone, away from a crowded location. Your safety and comfort should be your priority.

2. Prepare your camera bag.
Now that you’re well-informed about the perfect geographical setting and weather condition for your star trails photography, make sure to have a complete camera kit. What will you need?
A. Tripod
Prepare a sturdy and high-quality one. This photography method requires a steady camera to support long exposure settings. Don’t let a light breeze on a windy field blur out your image.
B. Camera
Make sure your camera is capable of shooting under a Manual Setting. With this mode, it’s easy to manipulate your ISO, Aperture, and Exposure values.
C. Lenses
Fast lenses are ideal for this type of photography. More importantly, remember that with a wider aperture, your camera can easily let more light in, giving you clear and higher image quality. Most photographers use wide-angle lenses and zoom lenses.
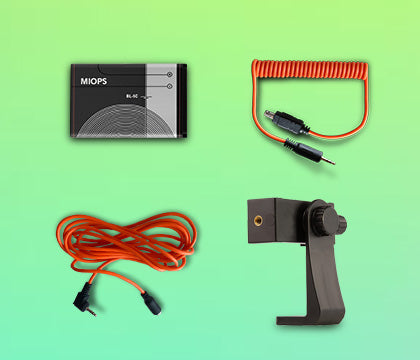
D. Extra Batteries
Bring these and an emergency power supply. Remember that you’ll have to spend hours outside and chances are, you’ll be away from a reliable power source.

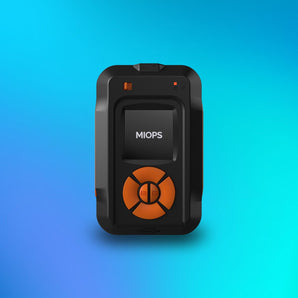
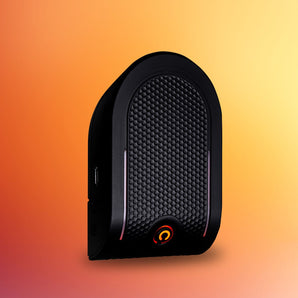
MIOPS SMART+
Take impossible photos by turning your camera into a high-speed capture device!
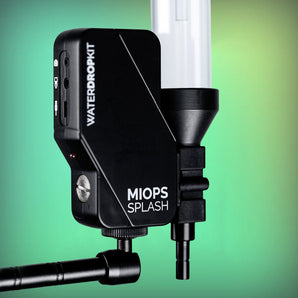
E. Smart Camera Trigger
You won’t need to worry about controlling your shutter, aperture, and even exposure values if you have this powerful device. In fact, a smart camera trigger and a mobile dongle can do the job for you: setting up your camera’s exposure, triggering your shutter, adjusting image sequences, and even achieving the best timing for every sequence/shot.
F. Smartphone
This will be your smart camera trigger’s best friend. Through your smartphone, you can use your mobile remote app to take full control of your camera - wirelessly. The app also allows you to use multiple modes and settings that are perfect for light trails photography.
3. Use the right camera settings.
The settings will depend on a lot of external settings like your location, your amount of light present, and even the time of the day (or night) that you’re doing the photo shoot.
A. Camera mode, as mentioned earlier, should be in Manual.
B. Your image format should be shot in RAW.
C. Your aperture values can range from f/2.8 – f/5.6 – make trail test shots to see what can work best.
D. Your lens’ focal length (zoomed in) can also affect the length or shortness of the star
E. You can either focus solely on the star-studded sky or use a foreground (mountains, trees, other structures) for added effects. However, be mindful of how this will affect your camera’s focus (preferably set on Infinity)
F. Full-frame cameras need only 30-60 seconds for a perfect shot of star trails. Take note that longer exposure allows your camera to capture farther light sources from more distant stars.
G. Most photographers prefer to use the lowest ISO setting to avoid noise on the final images. However, it will actually depend on the situation. Higher ISOs can be ideal as long as you get better exposure with the least noise.
H. Last but the most important is finding where to point your camera. The position of the stars circles around the North and South Pole. If you want a circular trail, point your camera towards the center of the Northern or Southern Hemisphere. How? There are several apps and websites that can teach you how to locate the North and South stars. Check them out before starting your shoot.
Also read: How to Take Star Trails

4. Decide about which type of Exposure Method you want to use – you can try both.
There are two types of exposure time settings in star trails photography and they come in many names: Long Exposure Method (also called Single Exposure Method) and Multiple-Exposure (also called Image Stacking Method). The difference between them is the length of time that you render to take the star trails photo.
A. Single Exposure/Long Exposure
Following this method means taking a full image of the stars for a long period of time. This will give you a single image of continuous star trails. The trails will also appear longer.
This method is good if you’re focused on taking one solid photo of star trails without worrying about organizing the sequence intervals set for every exposure duration.
B. Stacking Method Exposure
On the other hand, choosing this method means taking multiple images under shorter exposure durations and later on stacking these images (during post-process, using a camera editing/image stacking application) to create a single image. The trails will appear shorter compared to Single Exposure Method.
This approach, however, is useful if you want to create an exciting time-lapse sequence from the multiple images that you took during these different exposure intervals.
So there you have it, the basics and the most important tips for this fascinating photography technique. Hopefully, this article has helped you get an idea on how and when to start shooting those mesmerizing star trails. Good luck!
Related Article: How to Take Milky Way Pictures
Image Credits: Massimiliano Pedi, Nicholas Patrick Photography, BackCountryShutter