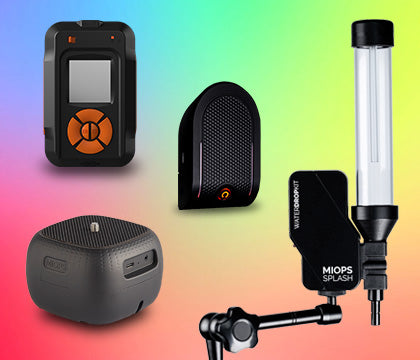
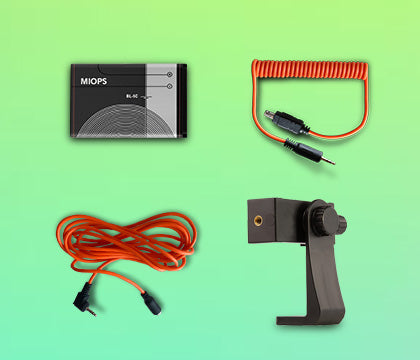
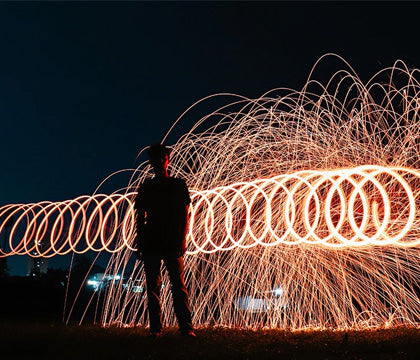
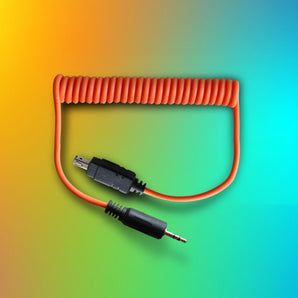
Timelapse photography compresses hours into seconds, revealing motion that is invisible to the naked eye — from drifting clouds to bustling city streets to starry night skies. While capturing a timelapse sequence is exciting, the true magic happens during post-processing. This step transforms raw image sequences into smooth, cinematic videos that impress viewers and stand out online. In this guide, we’ll show you how to post-process timelapse sequences using Lightroom and Premiere Pro, while highlighting the benefits of using the MIOPS Smart+ camera trigger for precision and creativity.
Why Post-Processing Is Essential for Timelapse Photography
Even if you capture technically perfect frames, timelapse sequences often require editing to:
- Eliminate flicker caused by exposure changes or fluctuating light.
- Correct color inconsistencies across frames.
- Stabilize shaky footage captured by handheld setups or natural vibrations.
- Enhance details and make your footage visually appealing.
Skipping post-processing can result in videos that feel jumpy, inconsistent, or amateurish, no matter how well they were shot. Proper workflow ensures your timelapse sequences flow smoothly and look cinematic.
Common Timelapse Challenges
- Flicker: Slight variations in exposure between frames create a distracting strobe effect.
- Noise: High ISO or low-light shots can introduce grain that becomes more noticeable in video.
- Color Shifts: Changes in sunlight or artificial lighting can result in uneven color tones.
- Shaky Footage: Handheld shots or minor vibrations can reduce smoothness.
Step 1: Organize and Import Your Sequence into Lightroom
Proper organization is crucial when working with hundreds or thousands of images. Start by:
- Creating a dedicated folder for each timelapse project.
- Using consistent naming conventions for easy frame tracking.
- Importing all images into Lightroom and reviewing for unusable frames.
- Rating your best frames or flagging any that may need extra correction.
Step 2: Exposure and White Balance Corrections
Lightroom is ideal for batch editing. Begin with basic adjustments:
- Exposure: Ensure brightness consistency across the sequence.
- White Balance: Adjust to correct lighting changes, especially in long transitions like sunset to night.
- Highlights and Shadows: Recover details in bright skies and dark areas.
- Clarity and Contrast: Add depth without creating harsh artifacts.
Tip: Make adjustments on one representative frame and then sync the settings across all images. This preserves a consistent look throughout the timelapse.
Step 3: Reduce Flicker
Flicker is the most common post-processing issue. Solutions include:
- LRTimelapse: Works with Lightroom to keyframe and smooth out exposure variations, perfect for long sequences with changing light.
- Manual Correction: Identify outlier frames and adjust exposure or brightness individually.
- Using MIOPS Smart+ during shooting reduces flicker at the source by triggering consistent, precise exposures, especially for low-light or high-speed subjects.
Step 4: Noise Reduction
For night timelapses or sequences shot at high ISO, noise reduction is essential:
- Use Lightroom’s noise reduction sliders to smooth grain without losing detail.
- For sequences with heavy noise, consider exporting to Photoshop and applying batch noise filters.
- Combining Smart+ with lower ISO settings can minimize noise in the first place by allowing longer exposures under controlled triggering.
Step 5: Export Your Sequence
Once your images are corrected and deflickered, export them for video assembly:
- JPEG or TIFF format is recommended for Premiere Pro.
- Use a sequential file naming pattern (e.g., timelapse_001.jpg, timelapse_002.jpg).
- Ensure consistent resolution to avoid scaling issues in Premiere.
Step 6: Assemble in Premiere Pro
Premiere Pro makes converting images into smooth timelapse videos straightforward:
- Import as an image sequence by selecting the first frame and checking “Image Sequence.”
- Set a frame rate (24–30 fps for cinematic feel, 60 fps for ultra-smooth motion).
- Apply Warp Stabilizer for handheld sequences or small vibrations.
- Enhance color with LUTs or custom curves for a cinematic aesthetic.
- Add opacity keyframes to create smooth transitions between light changes.
Step 7: Creative Effects with MIOPS Smart+
The MIOPS Smart+ trigger is a game-changer for timelapse photography. It allows:
- Precise frame triggering for high-speed events like water drops, sparks, or lightning.
- Reducing human error by ensuring consistent intervals for flicker-free results.
- Experimentation with sound or laser triggers for unique visual effects.

Step 8: Adding Sound and Final Export
Soundtracks elevate the impact of your timelapses:
- Choose ambient music or nature sounds that complement the motion speed.
- Use fade-in/fade-out audio transitions to enhance flow.
- Export in 1080p, 4K, or higher for cinematic quality.
- Consider using Premiere’s sequence markers to align key events in the footage with music beats.
Advanced Tips for Lightroom and Premiere
- Use graduated filters in Lightroom for subtle exposure adjustments across skies or landscapes.
- Try radial filters to highlight subjects or add a natural vignette effect.
- In Premiere, use adjustment layers for consistent color grading across the entire sequence.
- For complex sequences, export proxies first to maintain smooth playback while editing.
- Experiment with speed ramps to accentuate dramatic changes like clouds moving or the sun setting.
- Layer multiple sequences in Premiere to create double-exposure effects or creative compositions.
Tips for a Smooth Workflow
- Always backup RAW files before starting edits.
- Use consistent shooting intervals to minimize flicker.
- Batch-process in Lightroom to save time.
- Apply keyframing in LRTimelapse for smooth exposure changes during sunrise/sunset transitions.
- Keep your Premiere timeline organized for easier grading and final adjustments.
- Test different Smart+ triggering modes for creative results like star trails or water drop sequences.
Conclusion
Post-processing is what separates ordinary timelapses from cinematic, professional-level sequences. Using Lightroom for exposure, white balance, noise reduction, and flicker removal, combined with Premiere Pro for assembly, stabilization, color grading, and sound, ensures your timelapse flows seamlessly. And with the MIOPS Smart+, you capture precise, high-quality frames that make your sequences visually stunning. Mastering post-processing elevates your timelapse photography and ensures your work stands out online.
Keywords: timelapse post-processing, Lightroom timelapse, Premiere timelapse, MIOPS Smart+, deflicker timelapse, color grading timelapse, time-lapse video editing, camera triggers


