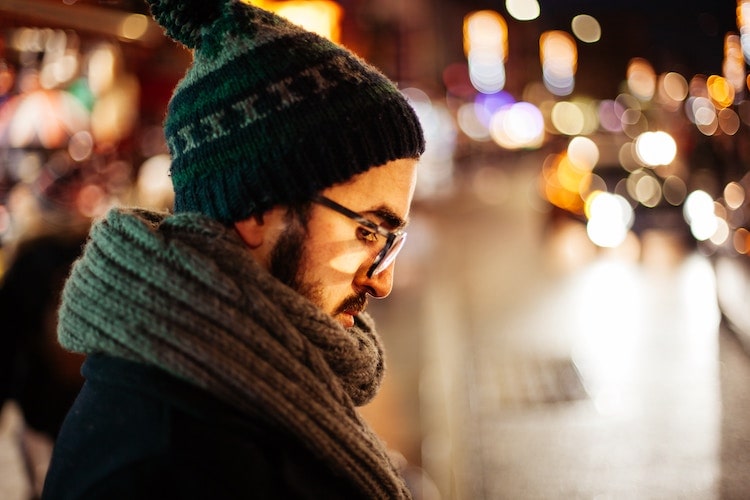
These past years, bokeh has been one of the trends that photographers are widely using in their arts. Why not? The blurred background lights make any image more interesting.
Many photography enthusiasts are arguing about the right adjectives to describe bokeh. Some call it sweet, silky, beautiful, while others use stronger words like superb and incredible. However, what really is a bokeh?
Bokeh defined
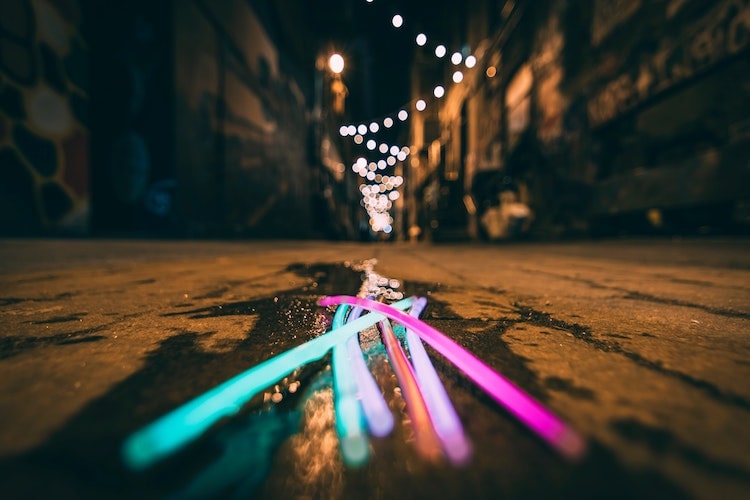
Bokeh is taken from the Japanese word boke, which literally means “blur”. You get such a soft, blurry effect by taking the background out of focus when you capture the subject. This can be achieved with a fast lens and a huge aperture size. To say it simply, bokeh is the artistic quality of an out-of-focus background in an image.
How it is done
As mentioned above, in order to achieve bokeh, the photographer has to use a fast lens. The least should be an f/2.8 aperture and the most ideal is f/1.4. A lot of photographers use fast prime lenses in taking shots to achieve perfect visible bokeh.
Moreover, the kind of lens you use affect the size and shape of your image’s bokeh. One is the shape of the lens’ aperture (its diaphragm blades). If the shape of your blades is hexagonal, then you will achieve hexagonal orbs, while circular aperture will give you round bokeh.
Tips on how to achieve bokeh
If you want to perfect your bokeh craft, then you can check out the following easy tips. They will help you get more visible bokeh in your photographs.
1. Determine your background.
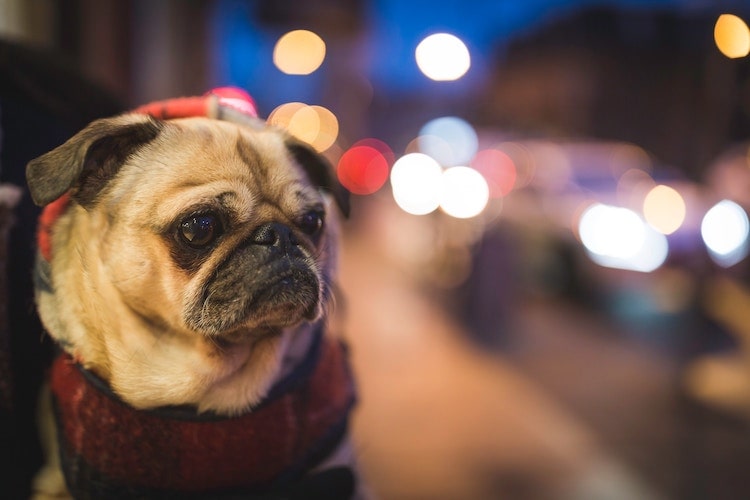
The first that you need is find out where in the image would you like your bokeh to be. Meaning, you need to determine your subject and the portion of the background where the effect should be seen. That being stated, you have to figure out whether your subject will stand out better with or without the bokeh.
Just a piece of advice, bokeh, if overdone, can steal the spotlight from the subject. Therefore, photographers should keep in mind that this effect is meant to help highlight the subject, that is why it should not be used if unnecessary.
2. Consider using a foreground.
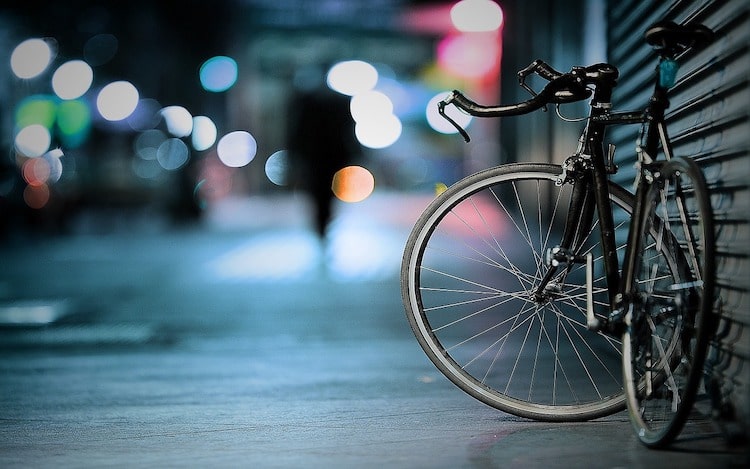
Bokeh is not only applicable to backgrounds. It can also be used to create a more appealing foreground. Thus, it is necessary that you envision your output first before taking shots.
The bokeh in the foreground can create dreamier aesthetics on your photo. Also, it can fill the unwanted spaces in the image. Your foreground bokeh can be a reflection from window lights or the sunset rays. However, just make sure that you keep the unwanted reflections away.
3. Choose the appropriate lens.
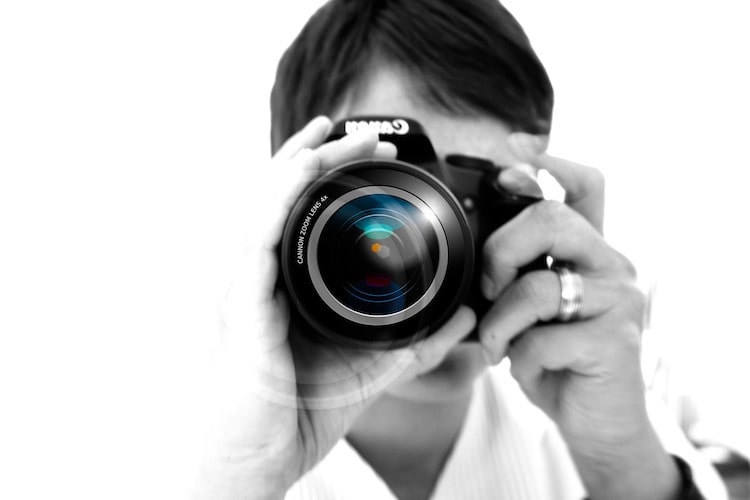
If you are using the wrong lens, then there is a big chance that you will only get frustrated. As mentioned above, the aperture of your lens should be at least f/2.8 to accomplish beautiful bokeh. However, most ordinary lens used for entry-level cameras only have f/3.5 or f/4.5 aperture, and it is still not enough to give the blur you need for your bokeh.
A good alternative would be using a 50mm lens. Its aperture size can reach f/1.8 or even f/1.4. Aside from being affordable, this can be easily found as well. Another alternative is a telephoto lens since it can create blur backdrops.
4. Select the aperture blades.
As stated above, the shape and size of your camera’s aperture blades can affect the pattern of the bokeh in your background. If you want rounder orbs, then use circular blades. If what you desire are polygons, then go for the hexagon-shaped blades.
However, if you want to create natural-looking bokeh, then it is better if you use the round blades. They are more desirable on images than hexagons since they look more natural.
5. Set to A or Av mode.
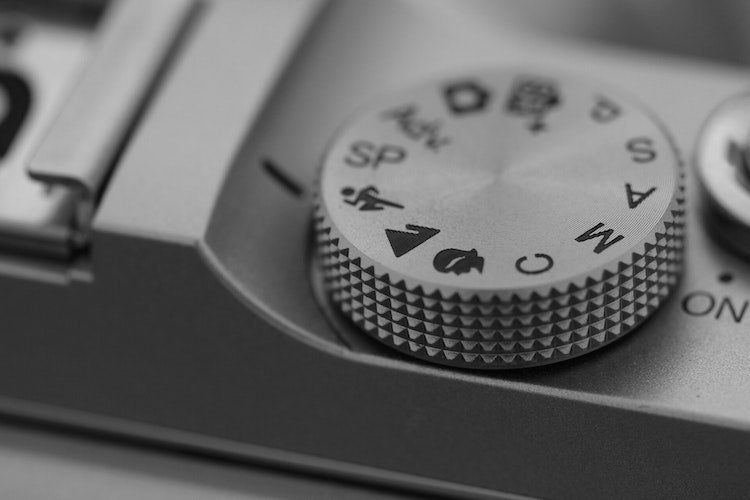
In order to achieve bokeh, you need to keep the camera’s aperture wide enough. For this reason, you have to set the camera to the Aperture Priority or Av mode. This setting is helpful since it will allow you to select the aperture size and set the necessary shutter speed.
By setting to A or Av mode, you can save time adjusting the aperture, and the exposure is easily set as well. However, there are times when the exposure is not set right because of problematic lighting in the location. If this is the case, just use the exposure compensation button to adjust the lighting of your photo.
6. Adjust the distance between your subject and its background.
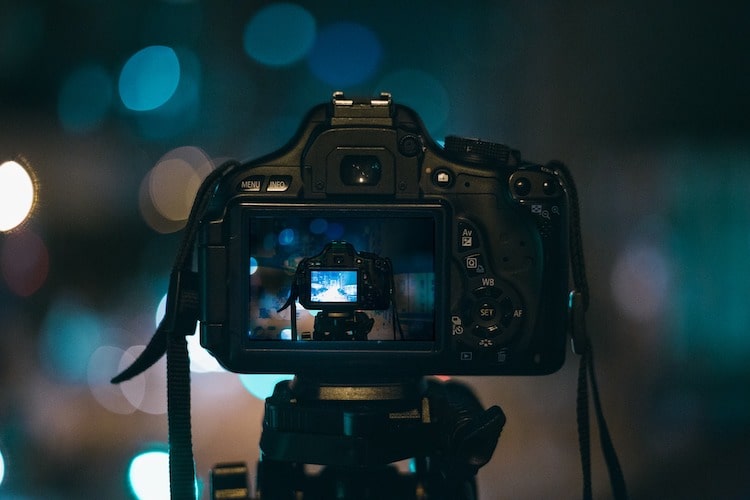
By putting enough distance between the subject of your image and its backdrop, your lens can give you more beautiful bokeh. This is because the greater the distance is between an object and its background, the better the bokeh is created. To achieve the best bokeh effect, the subject has to be at least a few meters away.

MIOPS SMART+
Take impossible photos by turning your camera into a high-speed capture device!
The ideal distance will also depend on the size of the orbs you want to create. The farther your subject and background are from each other, the smaller the bokeh you will achieve. If you want bigger bokeh, then you should minimize the distance.
Get More Help from MIOPS
To take your photography experience to a higher level, use your smartphone as a remote control for your camera. Do this by installing the MIOPS Mobile App on your phone, and get to adjust your camera settings even without actually touching the device. Connect your camera to your phone with the help of the MIOPS Mobile Dongle.
If you want to experiment with more photography techniques, such as time-lapse and long exposure, then owning a MIOPS Smart Camera Trigger or RemotePlus Trigger will be a big help for you. These gadgets are advanced camera triggers that also give you several options on how to create aesthetic effects on your images. They are both smartphone controllable too, so you can capture your photos even at a distance.
For more ideas on how to master photography tricks, check out our other photography articles and tutorials on MIOPS blog. We have more tips and products in store for you.
More ideas for Bokeh Photography
Related Article: High Speed Photography Explore Site


