


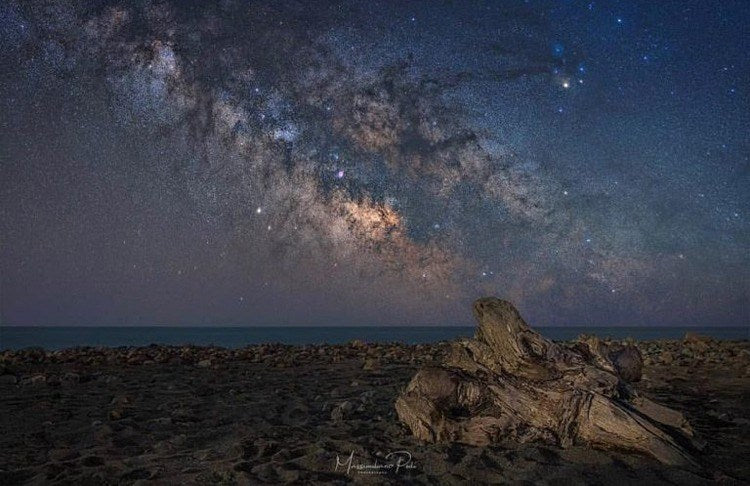
The Milky Way is a galaxy that also hosts our beautiful world. There are more than 100 Billion planets in our galaxy. Other than being our home galaxy, it also a perfect subject of photography. We can take awesome pictures of it from earth with today’s common cameras and lenses. Let’s see what is needed to take a picture of our sweet galaxy, the Milky Way. Now we can learn how to take milky way photos.

Before You Start
There are some basic tools that you will need for this short. First of all, a modern DSLR that can be triggered externally is required. We will trigger the camera with MIOPS Smart+.

If you don’t have one, you can order from www.miops.com. As we will be shooting long exposures, a tripod is essential. We will be basically taking the pictures of the space, so a wide angle lens will give the best results. You can alternatively also use Mobile Remote to take the long exposure pictures.
Related Article: What is a Remote Shutter Release
While You Are At It
Most of the time, you will not notice the Milky Way when you look at the sky with the naked eye. The long exposure is the whole idea that makes our galaxy visible in our photos. The prolonged time of exposure and some post-processing generates a great picture of it.
We will be using the “Timed Release” mode of MIOPS Mobile Remote. This mode allows us to keep the shutter open for an exact duration. Also, as the camera will be triggered electronically, there will be no shaking caused by pressing the shutter release button. The stability of the tripod is also very important. Make sure that your tripod is well balanced and fixed.
Don’t forget that the camera settings play a huge role here and we don’t want to capture the star trails. So, the exposure must be long enough to capture the stars but shorter than time duration where they start to trail. As a general formula for finding the maximum shutter speed, you can apply the famous “500 Rule”. This rule gives you a simple way of calculating the shutter speed for a successful Milky Way picture. The formula is just dividing 500 by the focal length of your lens. If your camera has a crop sensor, you need to divide the result by the crop factor. You will have a shorter exposure if your lens is cropped.
What Else to Check?
The biggest problem for shooting star photography is light pollution, so try to find a place far away from the city. The spring and summer days are the best days to try. Try to shoot the night sky with no clouds. Also, avoid locations very close to the see due to humidity in the air. Humidity means blurry images. Also, the new moon days are the best ones as there will be very little light from the moon.
Learn more about MIOPS Mobile Remote Camera and Flash Trigger for Astrophotography

Let’s Do It
First set your camera on a tripod. You can hang a weight to your camera to reduce the shake. Then set your camera to manual focus. Set the ISO of your camera to high. We all know that higher ISO means more noise, but you can work on this with some post-production.
Set the aperture as large as you can. This will mean that there will be more light coming through your lens. Connect MIOPS Smart+ to your camera and switch to “Timed Release” mode. Set the exposure time to the duration calculated with the 500 Rule.
Machen Sie nahezu unmögliche Fotos, indem Sie Ihre Kamera in ein Hochgeschwindigkeitsaufnahmegerät verwandeln!MIOPS Smart Trigger ist ein vielseitiger Kameraauslöser in...

Smart+ Multi-Mode Camera Trigger | Lightning, Sound, Laser and Timelapse
Take a few Milky Way photos with MIOPS Smart+ and then review them right on the spot. If there are trails, then shorten the exposure.
Related Article: How to Take Star Trails


