


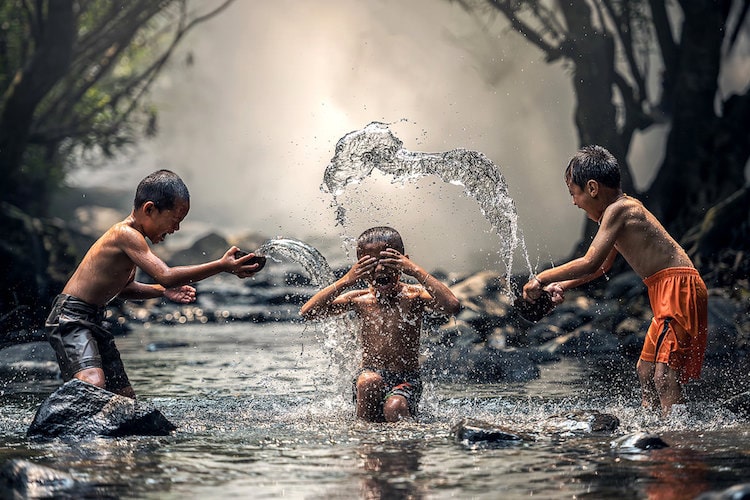
Portrait photography is the most lucrative genre of photography. Now a day’s more and more photographers are entering in this genre so competition is increasing day by day.
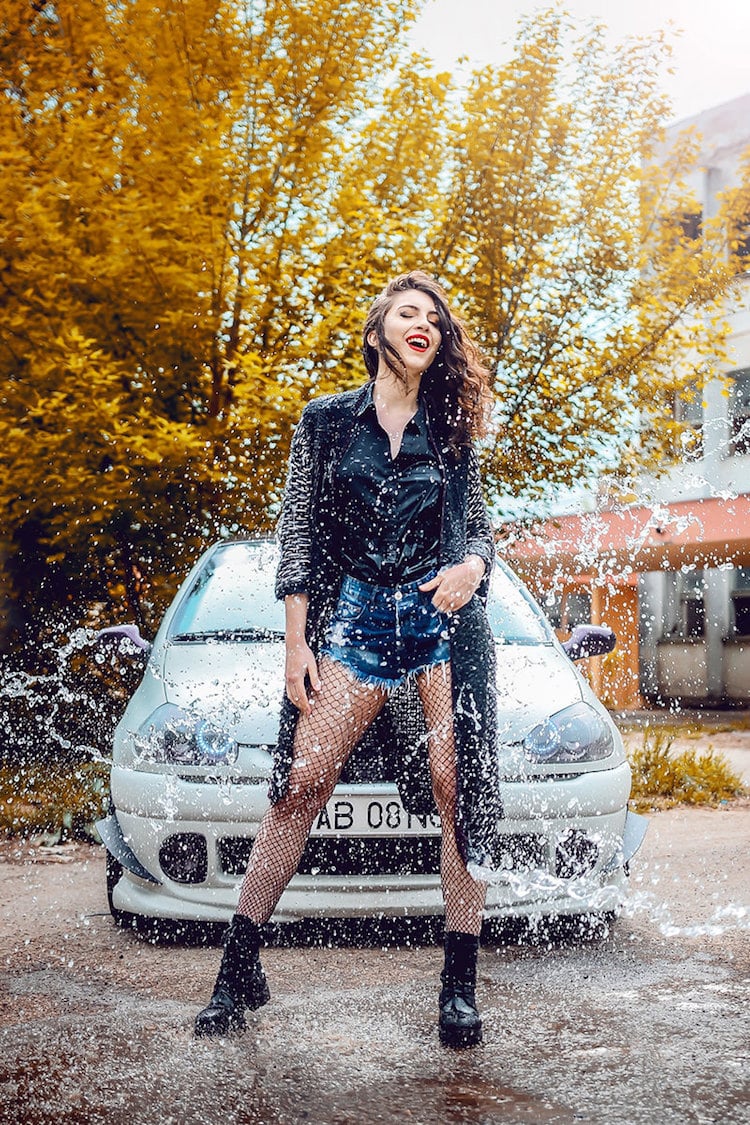
If you want to stand out, you need to do something extraordinary. Why not we combine portrait photography with splash photography and create some mesmerizing photos.
What you need:
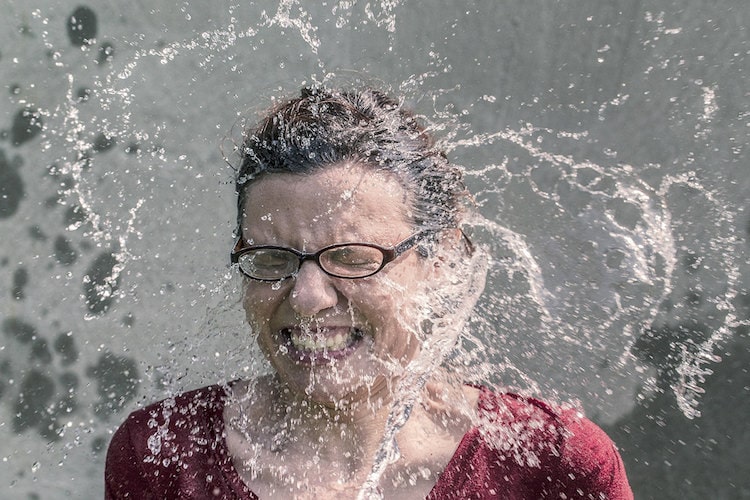
In this photography, the first you need a model who is ready to drench in water or colors and willing to clean herself after every shot. Other than the model you need usual things like camera, flashes, tripod, water or colors, a mug to throw the water and a room to do all this.
Lighting setup:
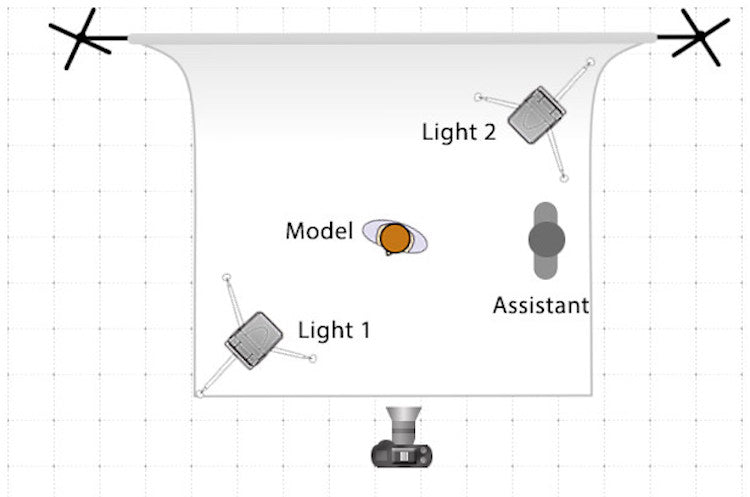
Lighting setup is different in both color and water. If you are using water you need a backlight to illuminate the splash. You required at least two lights, one in front of the model and second at the back side to light the splash. You may use a third light with a snoot for hairs of the model. Below is the lighting diagram for water.
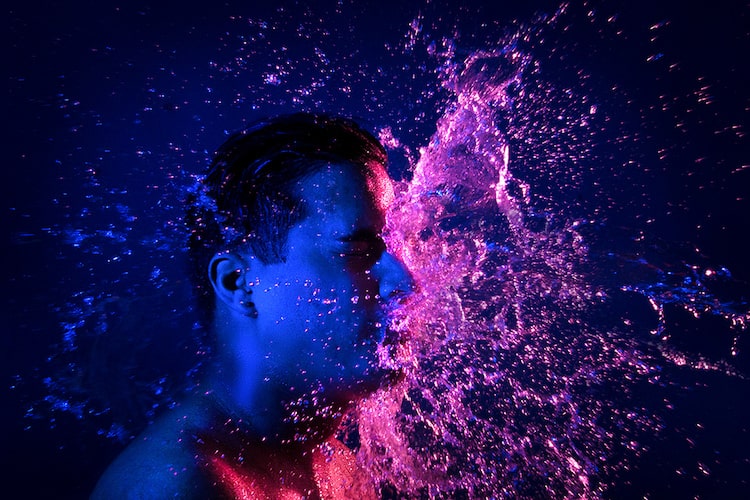
If you are planning to use color instead of water, let me warn you. It’s 5 times harder than water because your model needs to clean up after every shot and it’ll create lots of mess. If you are like me and love to do tougher tasks, let’s use color instead of water. For color splash, you need to light both the model and splash from the front. Use two lights at a 45-degree angle both side. It’s better to use softboxes with flash instead of bare flash for better results.
If you don’t have softboxes, take two empty wooden frames and paste butter paper (Parchment Paper) on it. Fire your flash from behind these frames and you’ll get a similar effect. You may also use plain white shower curtains instead of parchment paper.
Camera settings:
Camera settings are quite easy for this shoot. Mount your camera on a tripod and set ISO to 100. We are shooting a wide scene so no matter if we have an f/5.6 aperture or f/16, we’ll get a deeper depth of field. Shutter speed will be 1/250 or whatever flash sync speed of your camera.
You need to focus manually because your camera will not have enough time to focus and click. So our camera is on a tripod with manual focus and all setting are done, let’s start shooting.
Workflow:
You need an assistant to throw water on the model. If you are planning to throw water from both sides, you need two assistant. Your job is to click at the right moment. First make sure that your model is relaxed, if she is not comfortable, she may not pose properly. Now make her pose as per your instructions and take a test shot. Check the lighting and composition and make changes if required. Now ask your model to move aside and ask your assistant to throw water and take another test shot. Now check the lighting for splash in this shot and make necessary changes.
Okay, now we are ready to take final shots. Pose your model and instruct her not to twitch when your assistant throws the water. If the room is too cool, lower down the AC and it’s better to use lukewarm water. Remember your model can give proper poses only when she is comfortable.
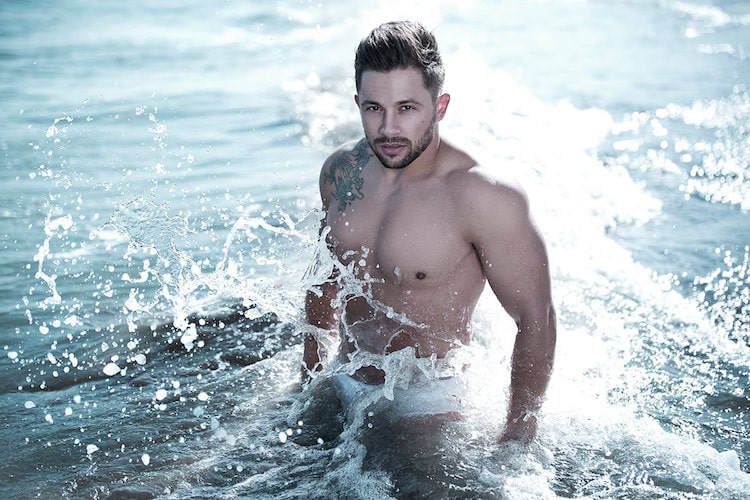
Note: I am referring model as a female in the article but everything will be the same if your model is a male.
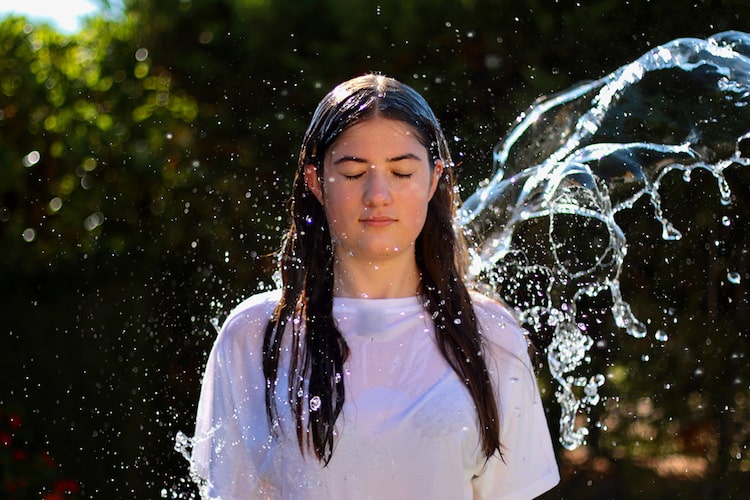
Now your model will be posing and your assistant will throw water and you’ll take the shot. You need to take lots of shot as sometimes splash will be perfect but the pose of the model may not be good. Sometimes pose is good but splash shape is not proper and sometimes both are okay but you didn’t click at the perfect moment. Take a few shots and eventually, your model will start posing properly, your assistant will throw the water as you want and you’ll start clicking on the perfect moment.
You can use one more technique. Fill up some balloon with water and use them for the shoot. You can burst the balloon on the top of the model or you can give a balloon in her hand, burst it and click the shot. Even you can take long balloons, fill with water, wrap around your model’s head and burst it and it’ll look like a crown. The possibilities are endless, just use your imagination.
Things to remember:
1. Take a shot of your model without water splash. Sometimes you get a perfect shot but you find that the eyes of the model are closed. In such condition, if you have a shot with the same pose, you can replace closed eyes using Photoshop or any other software.
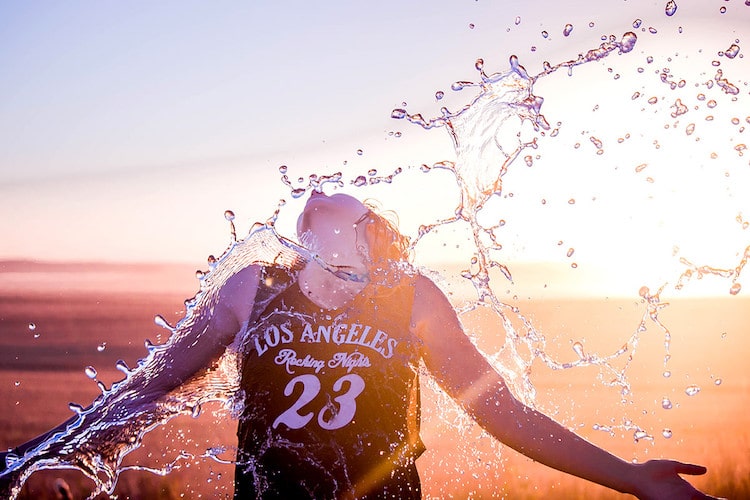
2. If you don’t have flashes or studio lights, you can so this shoot outside. Make sure you do it in the evening or early morning when lighting is good and remember you are doing it in summers.
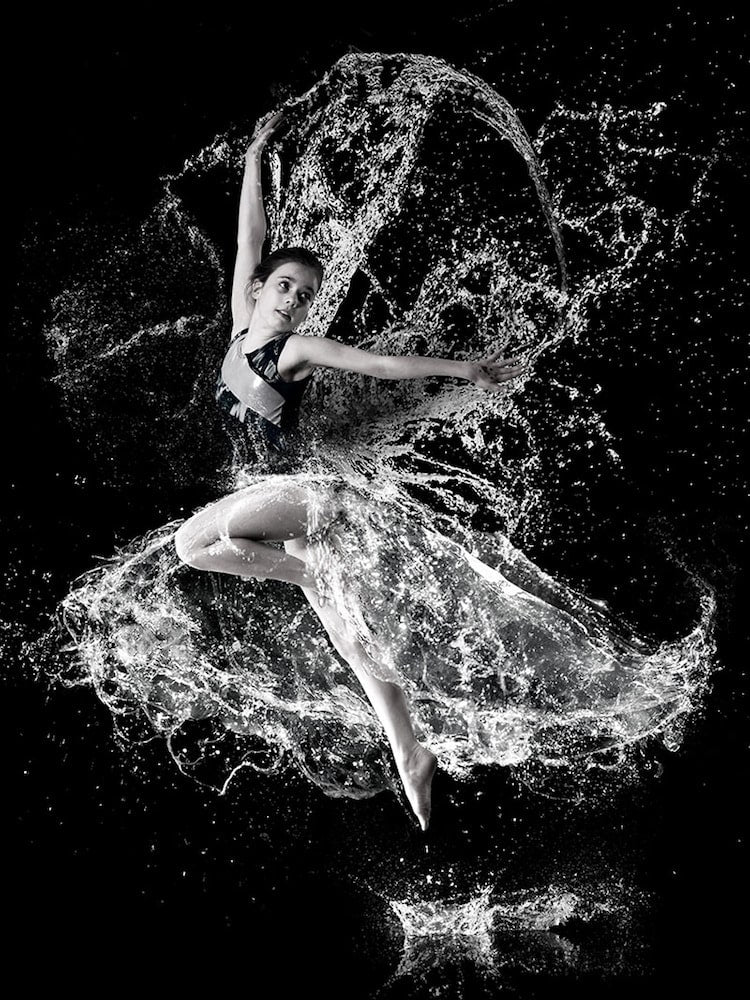
3. You may take lots of splash shots and use them to create some wonderful shot like this one.
So, let’s find out a model and take some exceptional shots and share with the world.
Related Article: Water Splash Photography with MIOPS Laser Trigger Mode
About the Author
Ramakant Sharda is an author, iOS App publisher, passionate photographer and a MIOPS Ambassador based in the beautiful “Pink City” of India, known as Jaipur. His work has been published in various magazines, newspapers, and blogs. He has published three Coffee Table Books, he writes about photography and also teaches photography in his workshops. Check out his website http://ClickManic.com to see the masterpieces created by him or download his free app for iPhone and iPad “30 Days to an Ace Photographer“.


