


Are you amused by how light graffiti photos are created? Do you also want to learn this technique to add some new tricks to your photography skills to capture light trails with painting on the air? Well, as long as you have the passion to master it, you will certainly be able to produce your own light graffiti masterpieces.
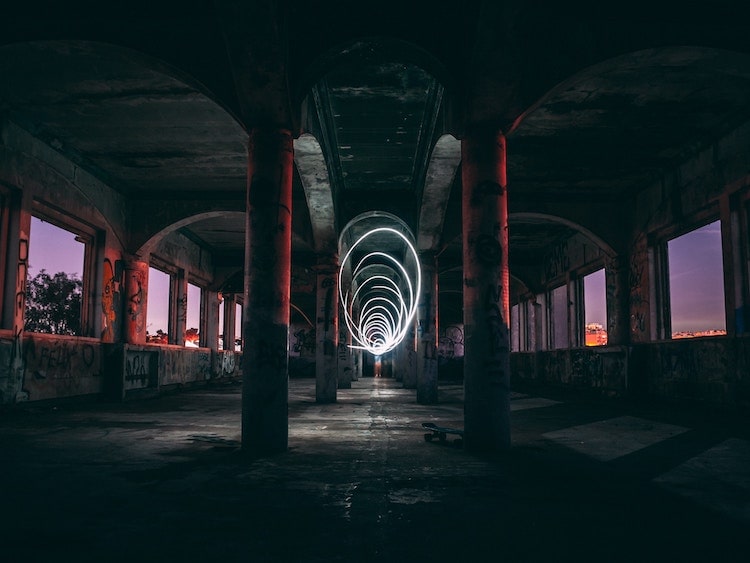
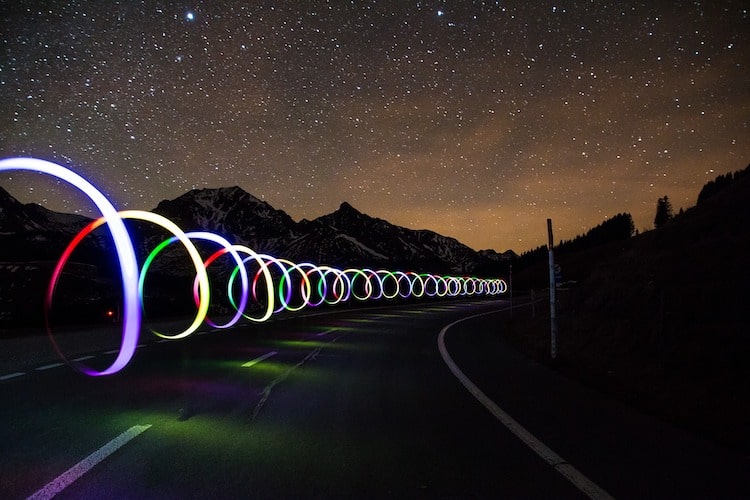
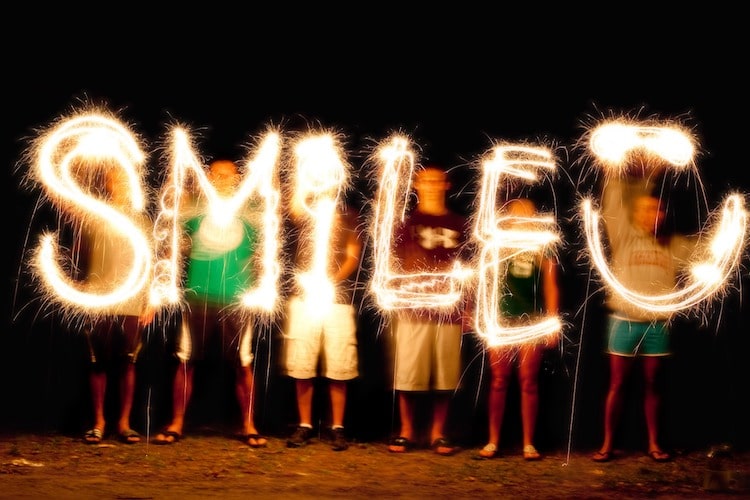
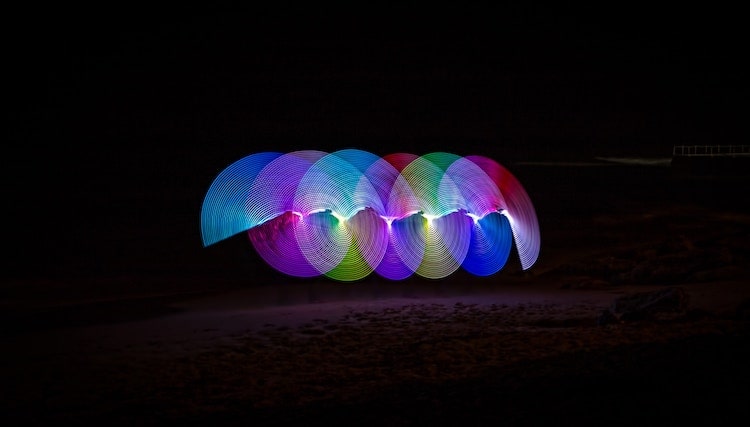
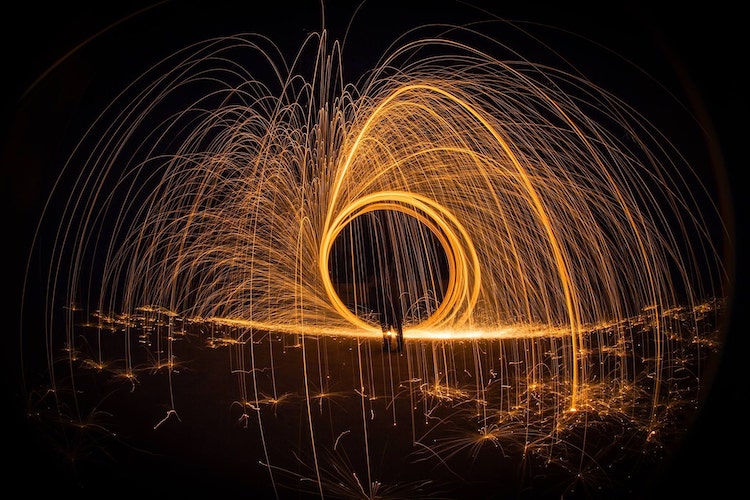
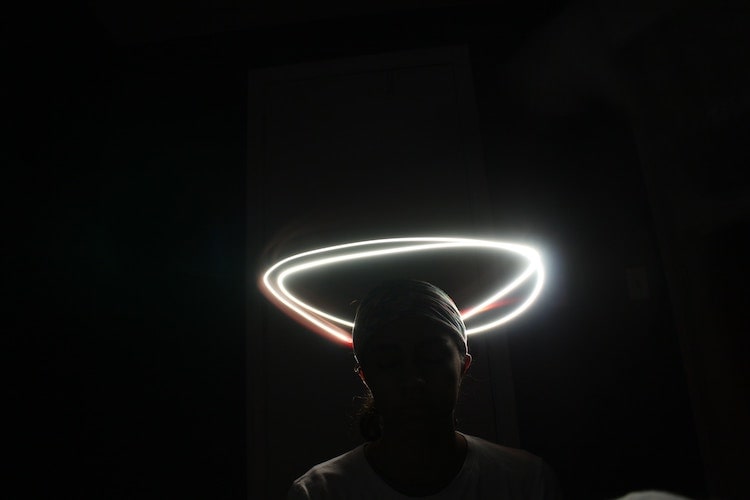
First of all, what is light graffiti? More commonly known as light painting, this kind of photography requires drawing some shapes in the air using a light source and applying long exposure to capture the formed images. This art is actually one of the most fun types of night photography which allows you to play around with your photos using colorful or attractive lights.
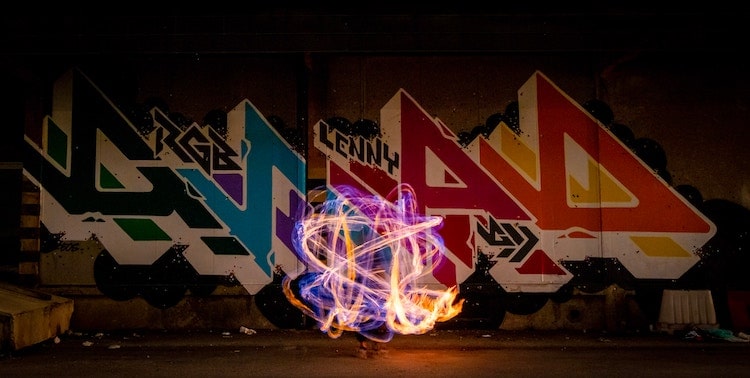
Light graffiti works by shooting in an extremely dark location, meaning there is a very low light involved. During this time, the sensor of your camera is like a blank canvas. Now, using your light source, you will draw or paint on where you desire the exposure to be. The common light sources used are a flashlight, torch, fire, sparkler, and light stick.
What Do You Need for Painting with Light?
Aside from the light source, there are other requirements for capturing light graffiti. They are the following:
- A camera set with a high shutter speed
- A tripod that will keep your camera in a fixed and stable position
- Low ISO (preferably 100) to get better results
- Depending on the lighting, the exposure time must be 10 to 30 seconds
- An ND filter in case of high lighting frequency
- Aperture needs to remain closed to avoid overexposure of your images
Tips to Create Incredible Light Graffiti Photos
To help you to capture amazing light graffiti photos, you can try these tips on your own. They are usually done by professional photographers who are into night photography:
1. Look for the darkest location
The lower the light involved is, the more effective your light graffiti will be. You will be able to produce stronger light images. For this reason, you should better go to a place out of the city, like wood or beach.

2. Plan ahead
To keep your trials-and-errors to the minimal, it is better to preplan your shoot. Preplan the place, the shapes you want to create, the light source/s to use, and the final output you envision. You should also decide on how long the exposure will be and the direction of your ‘painting with light’.
3. Experiment on using different light sources
The more colorful your images are, the more incredible the effects will be. That is why it is advisable that you try different light sources. This will keep your pictures from being flat and plain-looking.
4. Try dimmable light sources
The exposure you get from light graffiti or light trails depends a lot on light intensity. For this reason, you better select dimmable light sources. For better results, you have to vary the light intensity according to what you desire to see in order for all parts of your images receive the perfect amount of light.
5. Do not use flashlights with hotspots
A hotspot is that circle of light that you see in the middle of the flashlight beam. If you use a flashlight with a hotspot, you will be having a hard time adjusting the light beams for the finer details in the image. If you cannot afford to buy a flashlight without a hotspot, you can be resourceful by putting a wax paper or tissue paper over the flashlight lens to reduce the hotspot.
6. Vary the exposure times
If you are planning to come up with complicated patterns, you need exposure for at least 10 seconds. For light graffiti that uses more than one color, you need at least 20 seconds. You can also use the bulb mode in long exposure photography.
Related Article: How To Take Light Trail Photos
7. Stick with a simple design
Yes, the more light sources you use, the more creative your output will be. However, avoid putting too many images in one frame because it will appear cluttered. You need to have a focus point in a single frame so you can set your lens to manual focus. The simpler your image is, the more professional looking it will be.
8. Take as many shots as possible
In order to get the best light painting images, light painters take multiple shots. Taking as many shots as possible will allow you to take care of each photo part separately. This is necessary when creating light graffiti photos.
9. Use a camera trigger system
It is not wise to manually press the release button of your shutter to make the shutter open while the camera is mounted on a tripod. This can result in movements that will cause your images to be blurry. To avoid this, it is best to use a camera trigger. MIOPS Smart Camera Trigger will allow you to take shots remotely. This is manageable by using a mobile app, meaning you can release the shutter by just using your phone.
10. Use flash if you have a model
Yes, you can use a model in light graffiti, as long as that person is willing to stand or sit still for the long exposure shots. If you have a model, then you can integrate a flash. For best results, you need to incorporate strobist to light graffiti to freeze your subject.
11. Use other night photography techniques
To make sure that you get the best outcome for your light graffiti, do not forget to include other night photography methods. There are many techniques that can help you achieve your desired outputs, such as Long Exposure Noise Reduction (LENR) and Mirror Lock-up.
More Ideas About Night Photography
Night photography is one of the most fascinating genres of photography. Those who are not knowledgeable about this type may think the images are just the products of Photoshop editing. However, people admire such pictures more once they find out how they are created through long exposure using light sources.
If you want to learn more about long exposure and the other techniques that are involved in night photography, you can browse MIOPS photography blog. Aside from light graffiti, there are other interesting topics about night photography that you would surely not want to miss.
Related Article: How to Make Light Painting Orbs
Related Article: Light Trails Photography Tips and Tricks


