


Blog: Unveiling the Art of Photography
3 Tips for Dynamic Framing in Photography
While it has been said countless times that photography is all about the light, many have often overlooked the weight...

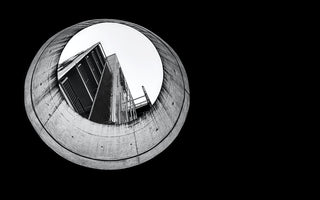
Effective Composition and Framing Tips for Landscape and Cityscape Photography
Composition is probably the most overlooked aspect of photography. Composition and visual design are deeply embedded into how we see...
We take the photography to a new level
Unleash Your Creative Spirit, Capture the Unexpected
MIOPS isn't just about gear. It's about pushing your creative boundaries and capturing the moments that take your breath away. We believe that everyone has the potential to be a storyteller, and our products are designed to empower you to do just that.