


Landscape photography doesn't need any introduction. It's about finding and clicking the beauty of nature. It can be a desert, mountain, cliff, coast, forest, glacier, or even a plain. Today we are going to talk about some tips for stunning landscape photography. So, without further ado, let's get started.
- Research before you go:
It's always a good idea to do some research before you go out for a shoot. It would help if you had an idea about the sunrise and sunset timing and how the weather will be on that day to do proper preparations. Sometimes we need to hike to reach the location. If you already know about it, you can pack light, wear comfortable clothes and shoes, and start early accordingly.
The sky is a critical element of landscape photography. On an overcast day, it usually looks white in the picture, and that doesn't look good. Additionally, landscape shots look flat and dull in such light. If you have an idea about the weather, you can avoid such days.
At last, search for photographs clicked on that location so you know about the different spots from where you can take the shots.
- Go early and come late:
Now you have enough details about that place, you know the sunrise time, you know the exact spot from where you can take the perfect shot, and you also know how much time you need to get there, but it's advisable to arrive there early. By going early, you'll have enough time to set up your camera and compose perfectly.
We often take some shots and then find a different spot where we can click even better pictures. If you reach early, you can explore the location and locate the best place for a shoot.
Golden hour is the best time to shoot, but some places look even better before sunrise or after sunset. If you reach early and stay late, you may capture these moments too.
- Make sure that everything is in focus:
All elements in your photo should be perfectly focused. Sometimes photographers set the focus on infinity and take the shot. Don't do that because if foreground elements are not in focus, your photo will not look good. To get everything in focus, remember two things.
First, use a narrow aperture. We often use a wide-angle lens in landscape photography, so you don't need to set the aperture to f/16 or f/18. An aperture of f/8 or f/11 is enough. And second, focus on the element around one-third of the total distance between your camera and the farthest object. If you have two main things in the frame, like some flowers in the foreground and mountains in the background, calculate the distance and focus at one-third of that distance.

- Sharpness is the key:
Sharpness is a critical factor in a good photograph. To get sharper landscape pictures, always try to use a tripod. Additionally, use a shutter release remote or self-timer to avoid a camera shake when pressing the shutter button. If you are using a DSLR camera, you may use the mirror lockup function, and when your camera is on a tripod, don't forget to switch off the Image Stabilizer or VR function.
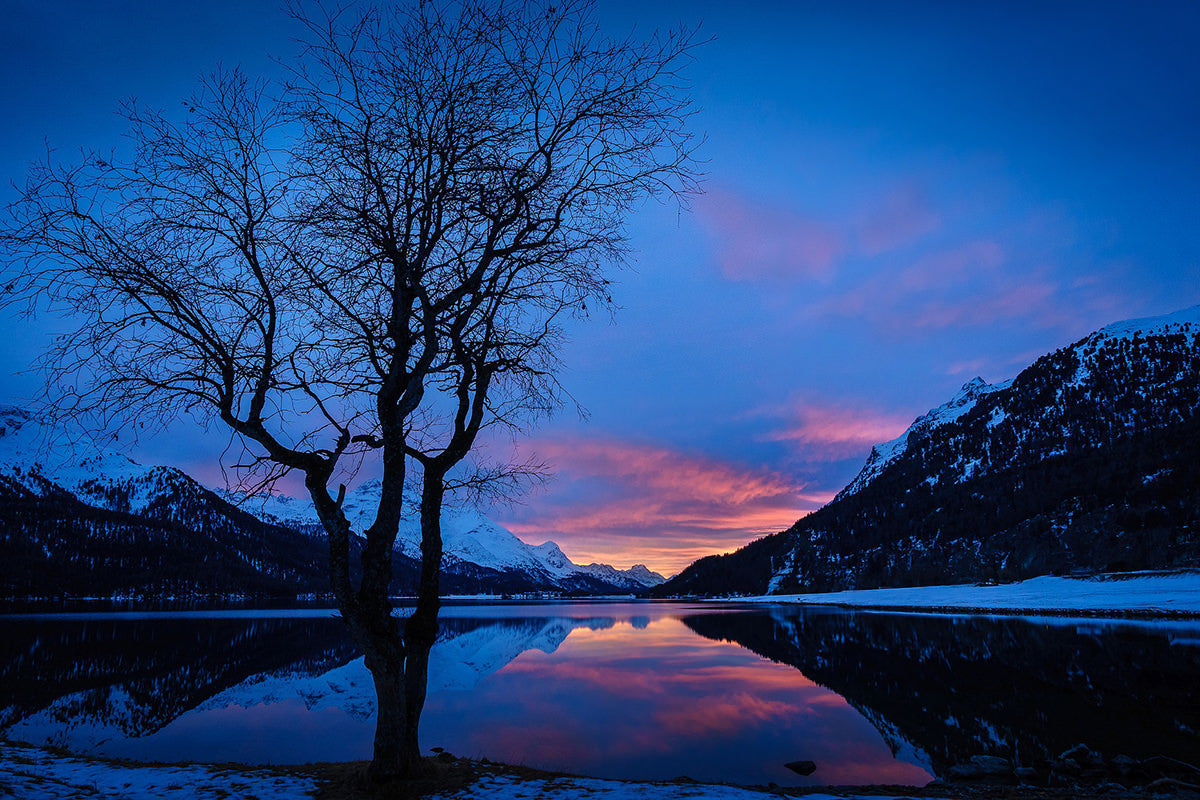
- Add a foreground element:
For an exciting composition, add a foreground element to your frame. It could be a tree or a rock or some flower or a boat or a structure. Foreground elements improve the composition and create a sense of depth.

- Horizon should be straight:
A horizon is a line where the earth and the sky meet. The horizon should be straight in your photo, and it shouldn't be in the center of the frame. You may place the horizon at 40/60 or 30/70 or 25/75 or 20/80 or anywhere, but never put it at 50/50.
- Use filters:
If you are serious about landscape photography, start using filters. Two filters are essential to capture better landscape photos. The first one is the circular polarizer filter. This filter reduces reflection from surfaces. Like if you are shooting a waterfall, the wet rocks reflect the light and look shiny. By using this filter, we can reduce this glare and capture the actual color and texture of the stone.
The second filter is a neutral density filter. This filter reduces the amount of light that is entering the camera so that we can have more exposure time. ND filters come in different darkness levels like one-stop or six-stop, or ten-stop. If you use a ten-stop ND filter, you can increase 1/60 second exposure time to 15 seconds. You can use this filter to capture soft and silky water or sky.
Filters are a lifetime investment, so always buy good quality filters. Cheap filters affect the colors and reduce the sharpness.

- Take panorama:
Sometimes your ultra-wide lens is not enough to capture the entire scene that you want to capture. In such a case, take multiple shots and stitch them together to create a panoramic image. We'll publish a detailed article on panoramic photography soon. In the meantime, you may use your phone to capture panoramic shots.

- Show scale:
One challenge in landscape photography is showing the scene the same as what you see in reality. It's because you can't show the scale in a two-dimensional picture. The best way to show scale in your photos is by adding something that the viewer can measure. You may add a person or an animal, or a structure to show the scale.

10: Shoot in RAW:
Always shoot in RAW so you can bring all details in post-processing. Whatever you are shooting, not just landscape photography, make it a habit to shoot in RAW only.
Camera settings for landscape photography:
- Shooting Mode: Aperture priority
- ISO: Choose the lowest ISO settings because our subject is still, and we can go with slow shutter speed.
- Aperture: F/8 or f/11 for deeper depth of field.
- Shutter Speed: Our ISO and aperture are fixed so that the camera will set the shutter speed. If you want a lower shutter speed, use an ND filter.
- Metering Mode: Evaluative metering. In this mode, the camera takes reading from the entire frame and calculates the average exposure value.
- Exposure compensation: 2/3 stops underexposed.
- Drive Mode: Single-shot or self-timer.
- Focus Mode: Single-shot AF
- Focus Area: Single point auto-focus, so we can move it to focus at the exact spot we want.
- Image Stabilizer: On if shooting handheld and off if the camera is on a tripod.
So here are some tips for landscape photography that could improve your landscape pictures. Let's take some stunning photographs and amaze the world. All the best.
Blog Credit: Ramakant Sharda
Ramakant is an Award-Winning Photographer, Author, Mobile Apps Publisher based in the beautiful “Pink City” of India, known as Jaipur. Many of his works have been published in magazines, newspapers, and international blogs. He writes about photography and also teaches photography in his workshops. He has published three (so far) coffee table books.


