


Is there an ideal weather for photography? In my opinion, the answer is NO. Photography is all about light and how one puts to use the available light - natural or artificial to the best use. We have little or no control on weather. However, unfavorable weather conditions can be a wonderful tool to trigger creativity of a photographer. It is possible to capture stunning photographs of all genres irrespective of weather conditions.
Many photographers shy away from taking pictures when the sun is fully shining and there are no traces of clouds. This condition may be ideal to show the complete expanse of a landscape or to play with shadows. Even portrait photography could be tried in these conditions by placing your subjects under a shade or using flash to fill the hard shadows. On the other hand, cloudy or overcast skies can act as a natural diffuser aiding some genres of photography. For example, Portrait photography. Such conditions challenge your creativity when trying out landscape photography. You would need to look around for some compelling compositions - reflections, clouds, architecture or emphasizing your subject etc. While photographing rain and snow, it is good to include the environment. This helps you to make your story more interesting. Pictures of the same environment taken during the different conditions will tell a different story. For example, you could take a picture of the same frame just before, during and after the rain. All the three images would paint completely different stories. Foggy conditions when coupled with long exposures are excellent for creative photography. Mysterious, inquisitive, and fascinating images can be created during foggy conditions.

The term weather photography could mean photographing any kind of weather as mentioned above. However, the term “weather photography” has become synonymous with photographing storms and lightning. In this article we shall consider weather photography as capturing of storms and lightning. Weather photography is a highly challenging genre of photography which once mastered can produce astounding results. Rather than expensive gears, it requires knowledge (both of camera and nature), skills, patience, determination, and luck that helps one to master this genre of photography.
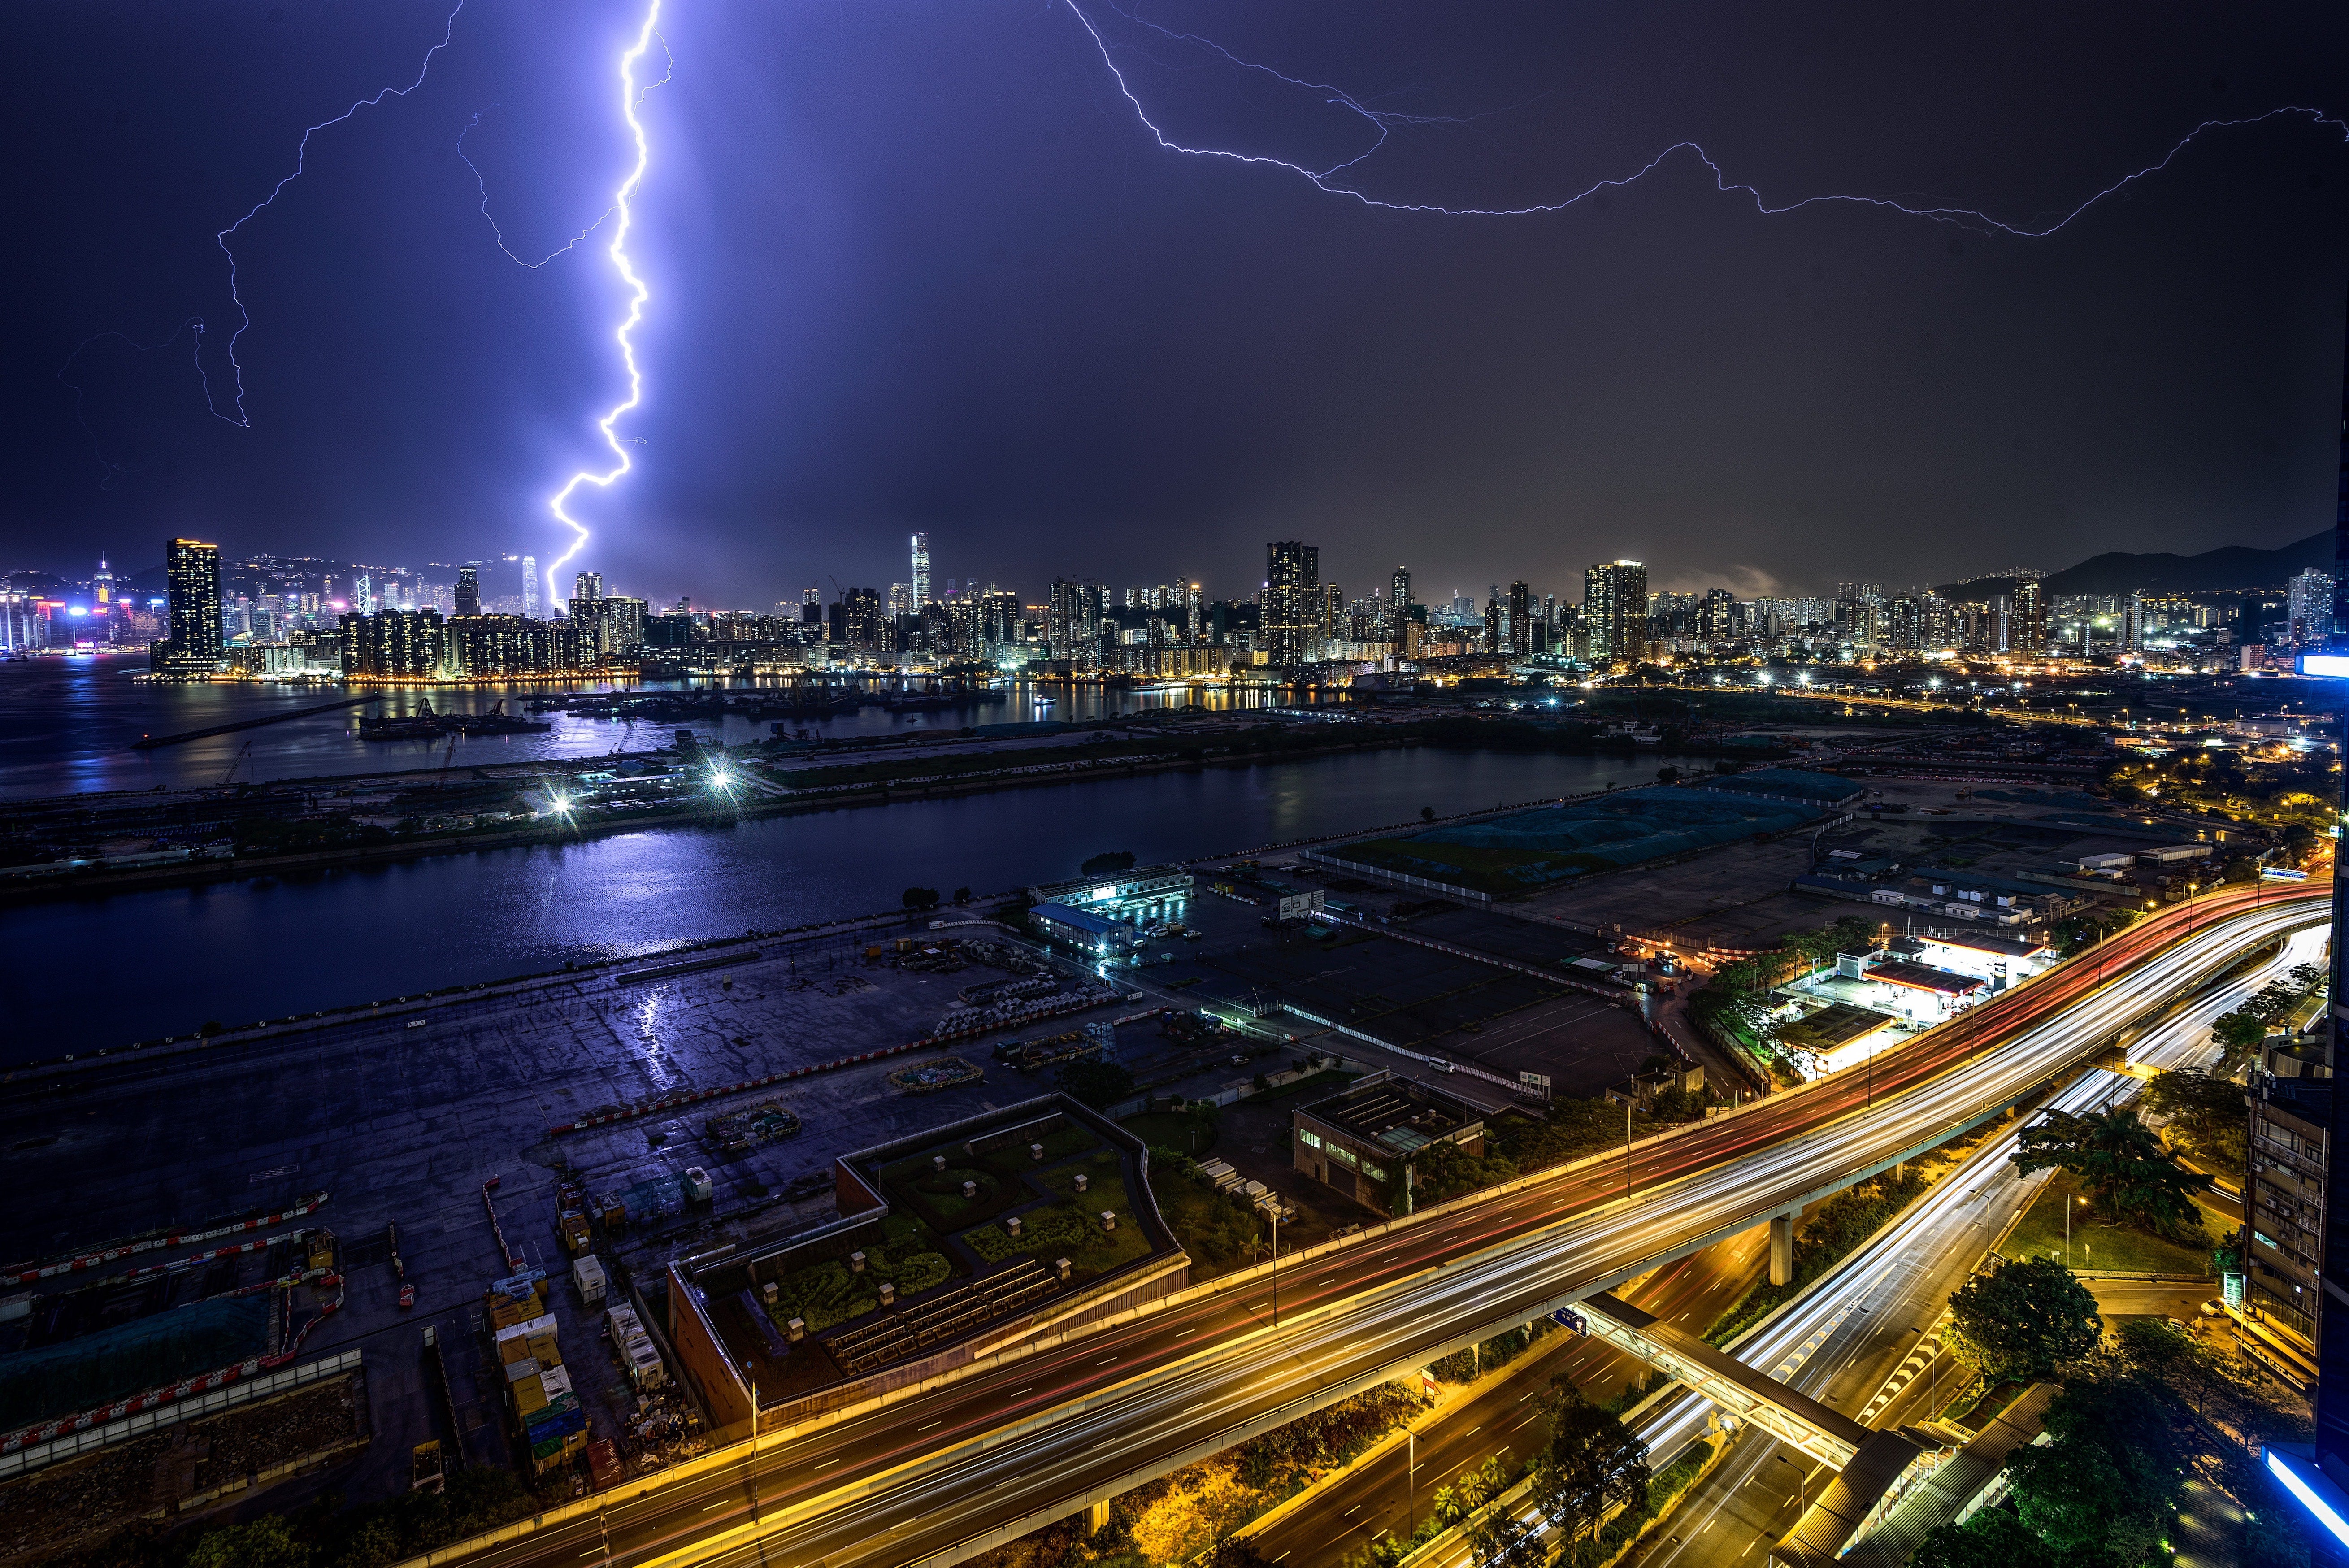
Lightning Photography: Lightning occurs in nature due to imbalances between storm clouds, within storm cloud or between cloud and ground. Cloud to ground lightning are the ones that produce dramatic bolts when compared to the other kinds of lightning. Internet and social media are flooded with stunning images of lightning making one wonder how to capture them. The good news is that you do not need expensive gears to capture them. However, photographing lightning is not an easy task either. Patience and luck are key factors as well due to the unpredictable nature of lightning. As with any type of photography, practice makes you perfect. If you live in areas with frequent storms, you will have more opportunities to practice and improvise your skills. However, if you live in places with very little thunderstorms like me, you may not have the luxury of being able to practice as much as you want to.
Basic gears that you need,
- A DSLR or Mirrorless camera capable of shooting in “Manual” / “Bulb” mode
- A Sturdy tripod
- Lens: Any lens could be used. Wide angle lens is an excellent choice as this can help to capture a wider scene maximizing the chances of capturing a bolt. Zoom lenses can be helpful if lightning is occurring at a distance or if you are aiming to capture lightning striking a tall building or tree.
- Fully charged battery. A fully charged second battery as spare is recommended
- MIOPS Smart+ Camera Trigger
Preparation: Planning is utmost important for capturing lightning photography. Image of a lightning bolt from the sky would be a good image. However, adding a horizon, skyline or landscape will drastically improve the composition and the story you tell.
Scout for locations that would give you such compelling compositions. Often you may not have enough time at hand to commute to a distant location before a lightning storm starts. It would therefore be ideal to shortlist a few locations so that you have options in hand. Sometimes locations closer to home may be a better choice. Accessibility to the location should also be carefully considered. It would be a good idea to visit the short-listed locations to frame your shots, look for good angles etc. Such familiarization would help to set up your camera quickly on actual day you go shooting.

Follow the forecast for lightning and thunderstorms in your area. This goes a long way in helping you plan the shot. These days you can get accurate forecasts many days in advance. You could rely on local news, weather information reports or even apps. Several lightning tracker apps are today available that makes it easier.
You can read further about these apps in the link below.
Shooting: Once at the location, mount your camera on the tripod. If the lightning or thunderstorm is happening when there is good light, you may be able to get a handheld shot. However, it is recommended to use a tripod even in these conditions. Frame your shot. Next thing to do is to focus your camera. Focus your camera to a distant horizon or focus to infinity. If your lens has an infinity marking this could be used. Once focus is achieved, turn off the auto focus by switching the lens to manual mode. This will prevent camera attempting to refocus each time. You can recompose and frame your shot.
Camera Settings: There is no standard go to settings for lightning photography. It would depend mostly on the time of your shooting, available ambient light etc as with any kind of photography.
Photographing in Manual mode is recommended. The go to settings would be to turn the ISO to the lowest possible value. Use the sweet spot of your lens for aperture. This probably would be f/8-f11 for most of the lenses. The shutter speed could be anywhere between a couple of seconds to 30 seconds. However, if you are photographing on brighter conditions you may have to close down your aperture and/or use faster speeds. It would also be good to use the delay timer in your camera to prevent camera shakes
To start with basic lightning photography the above settings and preparations would be a good starting point.
Capturing Lightning: Now we move to the next obvious step, ie capture lightning photographs. There are multiple ways one can do this.
As mentioned earlier, there is an element of luck factor. Only practice and knowledge usual patterns of lightning storms in your area would help you to improve and master this technique.
One of easiest way is to click the shutter once you see the lightning bolt. Do not use the delay timer if you are following this method. However, this way has its own inherent drawbacks. The lightning would be gone by the time you press the shutter. Even if you manage to press it in time, the shutter lag may not let you get the capture. Camera shake may also come into picture. Locking your mirror up helps to reduce the camera shake. If bolts last for a few seconds or if there are multiple bolts happening, you may be lucky to get some of them during the time the camera is exposed. In case you miss the first bolt, you could still end up getting the subsequent bolts since longer exposures are used. This would not be an option if you are shooting in good light conditions where faster shutter speeds will be needed.
The next method is to expose the camera for a set period and hope that a lightning bolt hits during the exposure time. For example, you could set an exposure of 15 seconds (provided conditions permit) and wait for lightning bolts to happen during this period. You may have to take number of such shots to end up with some keepers. While employing this method it is good to use the delay timer on your camera to avoid the camera shake.
Luck plays an important role while employing the above methods. If you live in areas that are not prone to continuous lightning bolts, it becomes even more harder. Both above methods rely greatly on the luck factor. Another flip side is that you could land up with an overexposed or underexposed image. If there are several bright bolts during the exposure time, you would end up with an overexposed image. Similarly, if bolts are weak or less, you may end with underexposed image as well. However, these techniques would help you to get started with understanding and improving your skills.

Smart+ Multi-Mode Camera Trigger | Lightning, Sound, Laser and Timelapse
Take almost impossible photos by turning your camera into a high-speed capture device! MIOPS Smart Trigger is a versatile camera...
Additional gear and tips: There are some additional gears that could be used to drastically improve your chances of capturing the bolts.
- Remote Trigger
- Intervalometer
- ND Filter
- Lightning trigger like the Miops Smart+

Remote trigger helps to improve the first method explained above. Camera shakes can be avoided, and you can trigger the camera each time when you see a bolt. Another advantage of using the remote trigger is that you can use the BULB mode. In this case you can control the exposure time and the issue of over/under exposure can be mitigated to a larger extend. You can close the exposure immediately after a bolt or close the exposure and start a new one if there was not bolt. Remote trigger plus BULB mode will help to overcome the shutter lag, depending on when you hit the trigger button.
The intervalometer helps to improve the second method explained above. You can program the intervalometer to take a series of shots. The advantage of this method is that you can create a time-lapse later with the series of images you have captured. Even if you were not lucky enough to capture bolts, you may end up with some excellent time lapses.
ND filters helps to achieve longer shutter speeds during the daytime. These filters come in various stops and the most ideal one as per lighting conditions may be used if photographing lightning during the day. ND filter coupled with remote trigger or intervalometer increases your chances of capturing lightning bolts during the day.
Though the above gears help to improve your chances in going home with some nice keepers, the luck factor is still crucial. This can be overcome to a larger extend by using a lightning trigger. Lighting trigger is a small unit that can be usually attached to your camera hot shoe and connected to the camera trigger port via a cable. These triggers usually sense the infrared pulses that the lightning bolts emit just before the flash. These devices could therefore work even during the daytime storms. The camera is triggered each time the sensor in the trigger sees a flash. This mitigates most of the shortcomings of the techniques explained above. Number of such sensors are available in the market and one can research them. Select a model that suits your requirement and compatible with your camera.
I would recommend the Miops Smart+ camera trigger for lightning photography.
Tips for using Miops Smart+ trigger: Set aperture and ISO as explained above. Set exposure as explained above depending on the ambient conditions and the desired output. During daytime, ND filter may be used to achieve longer exposures. Connect the Miops Smart+ to the camera trigger port using the cable that comes with the trigger. Start the Smart+ trigger and select Lightning option. The good part of the Smart+ trigger is that you can set sensitivity depending on the situation. If the bolts are stronger a lower sensitivity like 70 would be good enough to trigger the camera. If bolts are weaker, set sensitivity between 90 – 95 to trigger the camera. Using the Miops Smart+ will not only drastically increase the number of shots with lightning but also help to reduce the total frames you may have to capture. You can use the storm lapse mode where you can combine time-lapse with lightning.
The Miops Smart+ trigger is much more than a lightning trigger. It is a versatile trigger providing advanced triggering modes – sound, laser, time lapse, bulb ramping, HDR, storm lapse etc. are some of the modes packed into this small unit. In short, Miops Smart+ is a powerful multipurpose trigger that would go a long way in improving your photography.

Storm Photography: Photographing storms is similar to photographing lightning but little more complex. It is dangerous as well since you are closer to nature’s fury.
The basic gears needed remains the same as with the lightning photography – DSLR / Mirrorless camera with Manual mode, wide angle lens and a sturdy tripod.
Preparation is the most important factor for storm photography. Unlike lightning, you would need much more knowledge about storms and environment to master this genre of photography. Geographical knowledge is very essential when chasing storms. Storms can intensify and/or change directions quickly. Clarity of information with respect directions in and out of the location is key. You need to have good maps or a reliable satellite-based GPS to aid navigation. Phone based maps are not ideal when chasing storms.
As with lightning photography, scouting and shortlisting of locations is key. Having multiple locations to choose from will fasten your decision making based on the time at hand. In-depth knowledge about the location is very important and should be one of the main criteria when you choose a location.
Another important requirement for this kind of photography is to have reliable apps. Dark Sky, Windy, Weather Channel etc provide complete weather information. However, apps like Myradar, Storm etc are more reliable when it comes to chasing storms. There are also advanced apps that are available. The ability to comprehend the data from these apps is also essential when setting out to capture storms.
The process involved in setting up the shot, camera settings and capturing the photos is more or less the same as in lightning photography. However, adjustments are to be made based on the lighting conditions around. Lighting conditions can quickly change as the storm develops. Pumping up the ISO may be also needed while shooting storms. It is therefore important to have a good idea to how much you can safely pump your ISO with acceptable amount of noise.
The additional gear recommended above for lightning is also helpful for storm photography. You may be able to skip the ND filter as it may be very unlikely to have a storm in very bright conditions.

A panoramic capture of the storm would tell a more compelling story as it would give a wider coverage of the action. This is an option that can be tried out once you have tamed the art of capturing storms. Another great way to tell a story is by using time-lapse videos. This helps to present action from development, during and aftermath of a storm.
The Miops Smart+ is again a wonderful tool to aid your storm photography. The trigger has a storm lapse mode that helps you set sensitivity, exposure, and total number of shots. You could also use the normal time-lapse or long exposure time-lapse modes. Please note that the camera should be set to BULB mode while using some of these modes on the Miops Smart+ trigger. Advanced triggers like “Capsule360” can be used after you have mastered the basics. Capsule360 can add an element of PAN and/or TILT to your time-lapses.

Capsule PRO
Versatile pan and tilt head for time-lapse, multi row panorama, 360 product photography and videography.CAPSULE PRO is a great companion...
Safety: The most important aspect of weather photography be it storm, or lightning is “SAFETY”. There should be absolutely no compromise to personal safety as one is close to the elements of nature in this kind of photography. No photograph is worthier than your life. Following safety tips may be considered,
- Follow the weather and local government notifications. Storms can quickly intensify and become dangerous.
- Have good knowledge of the location you are venturing to.
- Fully charged mobile and/or option to charge them
- Storms are best shot from distance (this also give you the benefit of scale)
- Core busting of storms can be dangerous
- Stay away from metal poles, stray trees, open areas etc. especially if there is lightning
- Dress appropriately as per the weather conditions. Having a good quality rain jacket in your car is a good idea. Spare clothes is also a good idea
- Protection for your camera. It may be good to get rain protection cover suitable for your camera. Always have few pcs of microfiber towels in your camera bag.
The above list is by no means complete or comprehensive. Common sense should prevail.
Conclusion: Weather photography is indeed a very rewarding and satisfying genre of photography. However, it would need time, effort, knowledge, and patience to master the same. Luck has its own place as well in this type of photography. The paramount importance should always be for SAFETY!
Author Bio
Ansari M. Joshi has developed his skills by self learning and following the works of other photographers and pursues photography as a hobby. He has a keen interest in landscape and long exposure photography. His ambition is to capture the beauty of this genre of photography and tell a story of his own to the viewers. Ansari is from India and currently living in UAE.
Instagram: @mysonans


